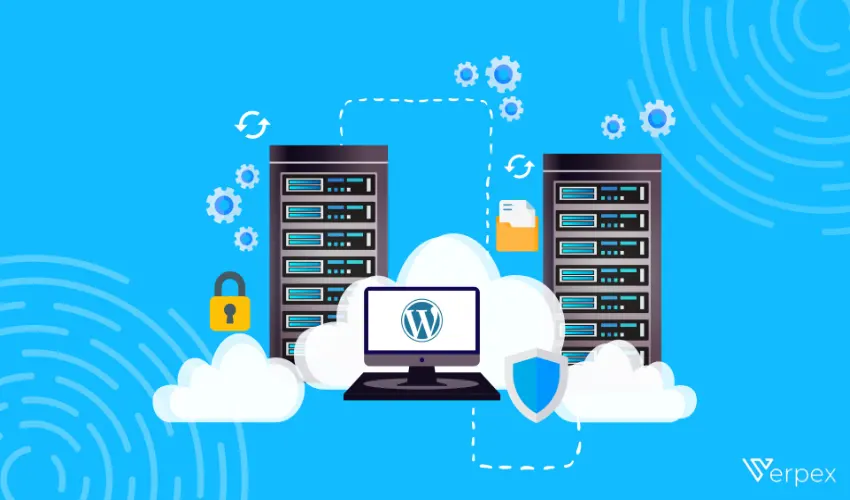
Migrating your website to Virtual Private Server (VPS) hosting can seem like a daunting task, but with proper planning and execution, it becomes a manageable and rewarding endeavor. VPS hosting offers increased performance, control, and scalability compared to shared hosting, making it an excellent choice for growing websites. This guide will take you through the migration process step by step.
- Understanding VPS Hosting
Before diving into the migration process, it’s crucial to understand why VPS hosting might be the right choice for your website. A VPS divides a physical server into multiple virtual servers, giving each website its own dedicated resources such as CPU, RAM, and storage. This eliminates the performance issues commonly associated with shared hosting.
Benefits of VPS Hosting:
- Enhanced Performance: Dedicated resources ensure faster load times.
- Improved Security: Greater isolation from other users on the server.
- Customizability: Ability to configure server settings according to your needs.
- Scalability: Resources can be easily upgraded as your website grows.
- Preparing for the Migration
Evaluate Your Current Hosting Setup
Take stock of your website’s current hosting environment. Identify the operating system, control panel, and software versions being used. This will help you select a compatible VPS and simplify the migration process.
Choose the Right VPS Hosting Provider
Selecting a reliable VPS Hosting provider is key to a successful migration. Look for:
- Uptime Guarantee: Aim for a provider offering at least 99.9% uptime.
- Technical Support: 24/7 customer support is essential.
- Scalable Plans: Ensure you can upgrade resources as needed.
- Backup Options: Regular backups protect your data during and after migration.
Back Up Your Website
Creating a comprehensive backup is a non-negotiable step. Use your hosting provider’s backup tools or third-party plugins to save your:
- Website files (HTML, CSS, JavaScript, images, etc.)
- Database (MySQL, PostgreSQL, etc.)
- Email accounts (if applicable)
Store the backup in a secure location such as cloud storage or an external drive.
- Setting Up Your VPS Hosting Environment
Once you’ve selected a Web hosting VPS provider, you’ll need to configure the server.
Select an Operating System
Most VPS plans offer options like Linux (popular distributions include Ubuntu, CentOS, and Debian) or Windows. Choose the one that aligns with your technical expertise and the requirements of your website.
Install Necessary Software
Set up the server environment to support your website. Common installations include:
- Web Server Software: Apache, NGINX, or LiteSpeed.
- Database Management System: MySQL or MariaDB.
- Control Panel: cPanel, Plesk, or a free alternative like Webmin.
Secure the Server
Security is critical when setting up your VPS. Follow these steps:
- Update the operating system and installed software.
- Set up a firewall to restrict unauthorized access.
- Disable root login and create a new user with sudo privileges.
- Configure Secure Shell (SSH) for encrypted communication.
- Migrating Your Website
Transfer Files
Copy your website files to the new VPS. Use tools like:
- FTP/SFTP Clients: FileZilla or WinSCP for transferring files securely.
- Control Panel File Manager: If your VPS has a control panel, you can upload files directly.
- Command Line Tools: SCP or Rsync for Linux users comfortable with the terminal.
Migrate the Database
Export the database from your old hosting account:
- Log in to the old hosting control panel or database manager.
- Use a tool like phpMyAdmin to export the database as an SQL file.
Next, import the database into your VPS:
- Access your VPS’s database management tool.
- Create a new database and import the SQL file.
Update your website’s configuration files (e.g., wp-config.php for WordPress) with the new database credentials.
Test the Website
Before changing the DNS settings, test the website to ensure everything is functioning correctly. Use the server’s IP address or a temporary URL provided by your hosting provider.
- Updating DNS Settings
Once you’ve verified that the website is working correctly on the VPS, update the DNS records to point your domain name to the new server.
Modify the A Record
Log in to your domain registrar’s control panel and update the A record to the IP address of your VPS.
Check Propagation
DNS changes can take up to 48 hours to propagate globally. Use tools like WhatsMyDNS to monitor the process.
- Post-Migration Tasks
Monitor Performance
Keep a close eye on your website’s performance metrics, including page load times and uptime. Tools like Google PageSpeed Insights or Pingdom can help.
Optimize Your VPS
To maximize your server’s performance:
- Enable caching with tools like Memcached or Redis.
- Use a Content Delivery Network (CDN) to reduce server load.
- Regularly update software to patch vulnerabilities.
Set Up Automated Backups
Schedule regular backups to protect your data against unexpected events.
Notify Users
If your website was temporarily unavailable during the migration, notify your users of the improved hosting setup and apologize for any inconvenience.
- Troubleshooting Common Issues
Downtime
If your website is down after migration:
- Double-check DNS settings.
- Verify that web server and database services are running on the VPS.
Broken Links or Missing Files
Ensure all files were transferred correctly and the database was imported without errors.
Email Issues
If your hosting includes email services, update MX records in your DNS settings to point to the new server.
- Benefits of a Successful Migration
Migrating to VPS hosting can significantly enhance your website’s capabilities. With dedicated resources, improved security, and scalability, your website will be better equipped to handle increased traffic and provide a seamless user experience.
Conclusion
Migrating your website to VPS hosting is a multi-step process that requires preparation, technical expertise, and attention to detail. By following this guide, you can ensure a smooth transition to a hosting environment that meets the growing needs of your website. Whether you’re upgrading for better performance, security, or scalability, the benefits of VPS hosting make it a worthwhile investment for your online presence.
